Growing up I was often taught about my dad’s stress management techniques. They involved
going for walks, mowing the lawn, and, oddly enough, baking bread. My grandma would tell me
stories about my dad having a rough day at school or an argument with his dad and going
immediately into the kitchen to make a loaf of bread. I thought this was pretty odd for a few
reasons. The first was that I never saw my dad bake once in my life. By and large he avoided
the kitchen but I’m not even sure I ever even saw him turn on the oven to bake a frozen pizza!
The second being that I had never had any kind of bread that wasn’t bought from a store and
couldn’t imagine making something I could buy for 43 cents a loaf (prices were different back in
the day).
Photo by Johnny Cohen on Unsplash
Now, I’m not calling Grandma a liar. I’m sure my dad could and did often make bread. What
really intrigued me though was that it was referred to as a “stress reliever”. I get the kneading
and the the physical movements but couldn’t really understand. I mean, cooking and baking is
about love, isn’t it? How can you put love into your bake and relieve stress at the same time?

Photo by Baylee Gramling on Unsplash
Fast forward 30 years and suddenly I get a wild hair to bake. I want to know how to make bread
and I want to see what the heck this is all about. Unfortunately Grandma has passed and, of
course, Dad doesn’t remember how he’s made the bread. Luckily my aunt is still going through
grandma’s stuff and was able to find her recipe book (complete with her famous pie crust that
absolutely WILL be reviewed at a later date). I will be sharing grandma’s basic bread recipe and
then our takes on it. The recipe is very versatile and delicious.

Grandma’s Basic Bread Recipe
1) 5 to 6 cups of all purpose flour.
2) 2 cups water
3) ¼ teaspoon salt
4) 1 cup sugar
5) 1 packet of active dry yeast
6) ¼ cup oil (any kind)
Directions:
1) Add the sugar, yeast, and two cups of lukewarm to warm water. Make sure the water
isn’t too warm as it will kill the yeast and you won’t be able to make the bread rise. Wait
about 5 minutes for the yeast to bubble up and make the top of the water foamy.
2) In a stand mixer (if you have one) on low begin mixing the water, yeast, sugar mixture
and start adding the flour a cup at a time. You should be using a dough hook to do this.
3) Start with 5 cups of flour and only add more as needed when kneading. Take the dough
out when it begins to hold together and start kneading it on a floured surface.
4) Knead for about 10 to 15 minutes. The dough should be elastic.
5) Lightly oil or grease a large bowl and put the dough inside. Let rest for about 1 hour or
until the dough has doubled in size. During the summer we like to put it outside in a
shady spot as those are ideal temperatures. In the winter you’ll likely have to wait a bit
longer so overnight proofs in the fridge aren’t a bad idea either.
6) After 1 hour, or when the dough has doubled in size, take it out and cobra hand strike
the dough to ‘pop’ it. You will then need to kneed it for another minute or two and put it
into the shape of your baking pan.
7) Let the dough sit for another 3 minutes and proof a second time before putting it into a
preheated 350 degree oven. I find that proving the dough on top of the oven while it’s
heating has worked perfectly because the temperature is about perfect that way.
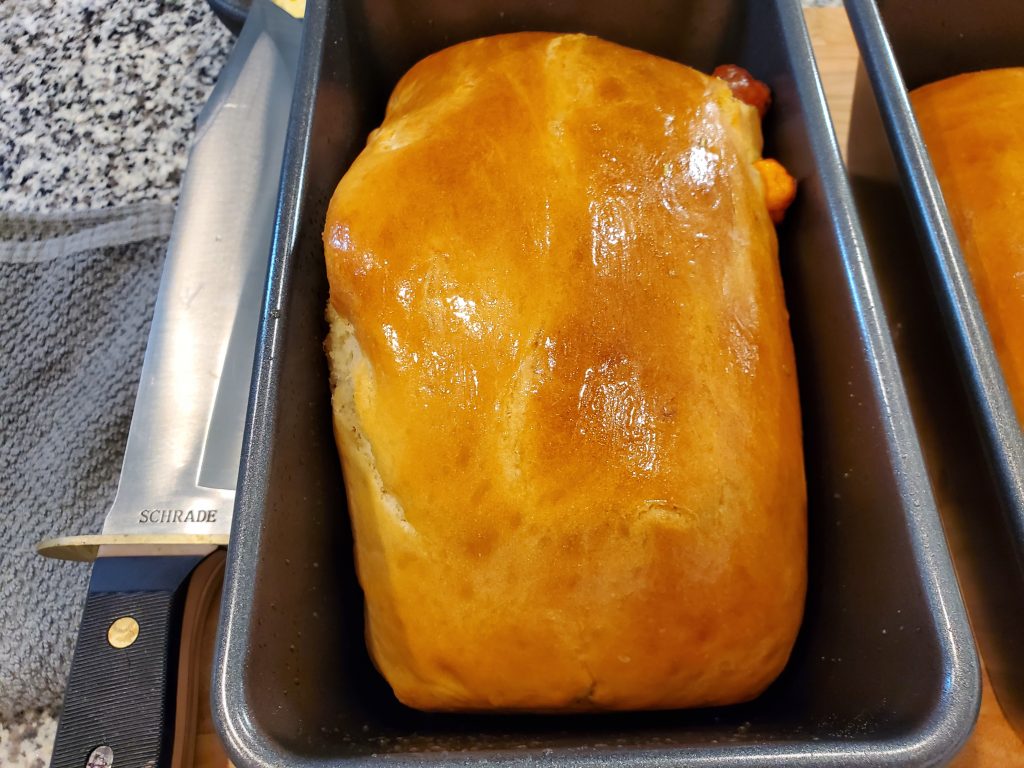
8) Bake for about 30 to 45 minutes. You’re looking for a nice golden brown color.
9) Take the loaves out and brush with melted butter while it cools. It’s important to not cut
open too early as the dough needs that time to cool down and complete its bake. This
will test your patience and resilience as the bread smells absolutely amazing.
10) Use your favorite jam to eat a slice. If you want to go the extra mile, you can always
make your own as well. Enjoy!
You can make the bread using only a ½ a cup of sugar if you are worried about extra calories
from sugar. We were able to get a rise out of both. Speaking of rises, make sure you leave your
yeast enough time to be ready. It takes at least 5 minutes and there should be plenty of bubbles
before you start. It’s better to wait a little too long than not long enough.

Another piece of advice, embrace the knead. It can be tiresome but totally worth it to make sure
you’ve built up enough gluten. Feel the burn, find your inner strength, exercise your yeasty
demons. Get that dough Kneaded!
Does making bread relax you?
Absolutely. Bread making is incredibly relaxing and gives you all of the benefits of a good 15
minute workout with the reward of fresh baked bread. There’s really nothing better than bread
made well at home.
Hopefully this helps a bit and you can get some delicious bread of your own going! Check out this video of us making our own bread with sage from the garden and some cheddar chunks!
I loved the story!! The video provided an excellent overview of making and baking fresh homemade with some great entertainment!! Thank you for sharing the recipe!!